3D Printing the Curta Calculator: Recreating A Historic Marvel
Marcus Wu has always been a builder looking for a challenge. With just over a year of 3D printing experience, Marcus and his brother Peter became immersed in one of the most difficult 3D printing challenges we have seen: a functional version of the famous Curta mechanical calculator.
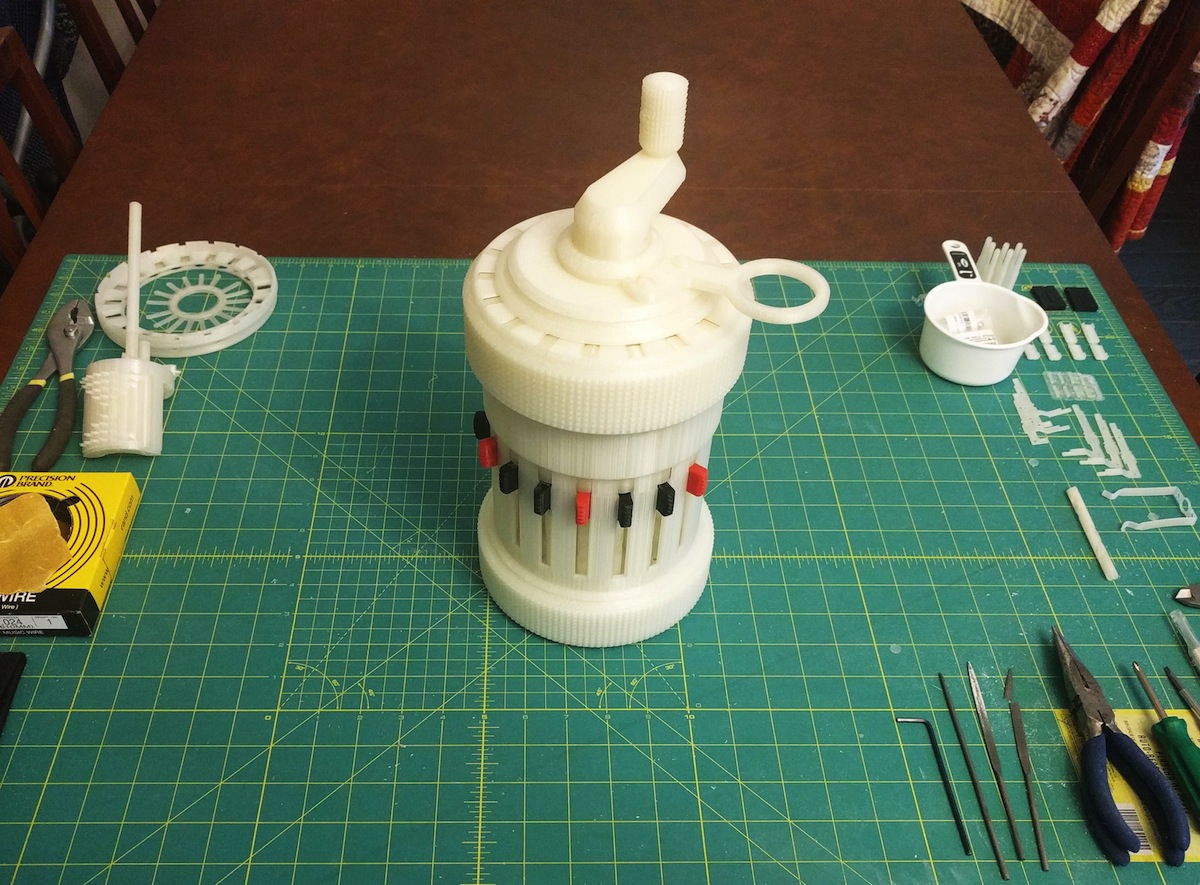
Curta Calculator, printed with Simplify3D. Image from thingiverse.com
For those of you unfamiliar with this device, the Curta Calculator is a complex engineering marvel that was the height of pre-electronic calculating. It is a handheld device that uses a crank and a series of gears, weights, and pins to solve complex mathematical equations.
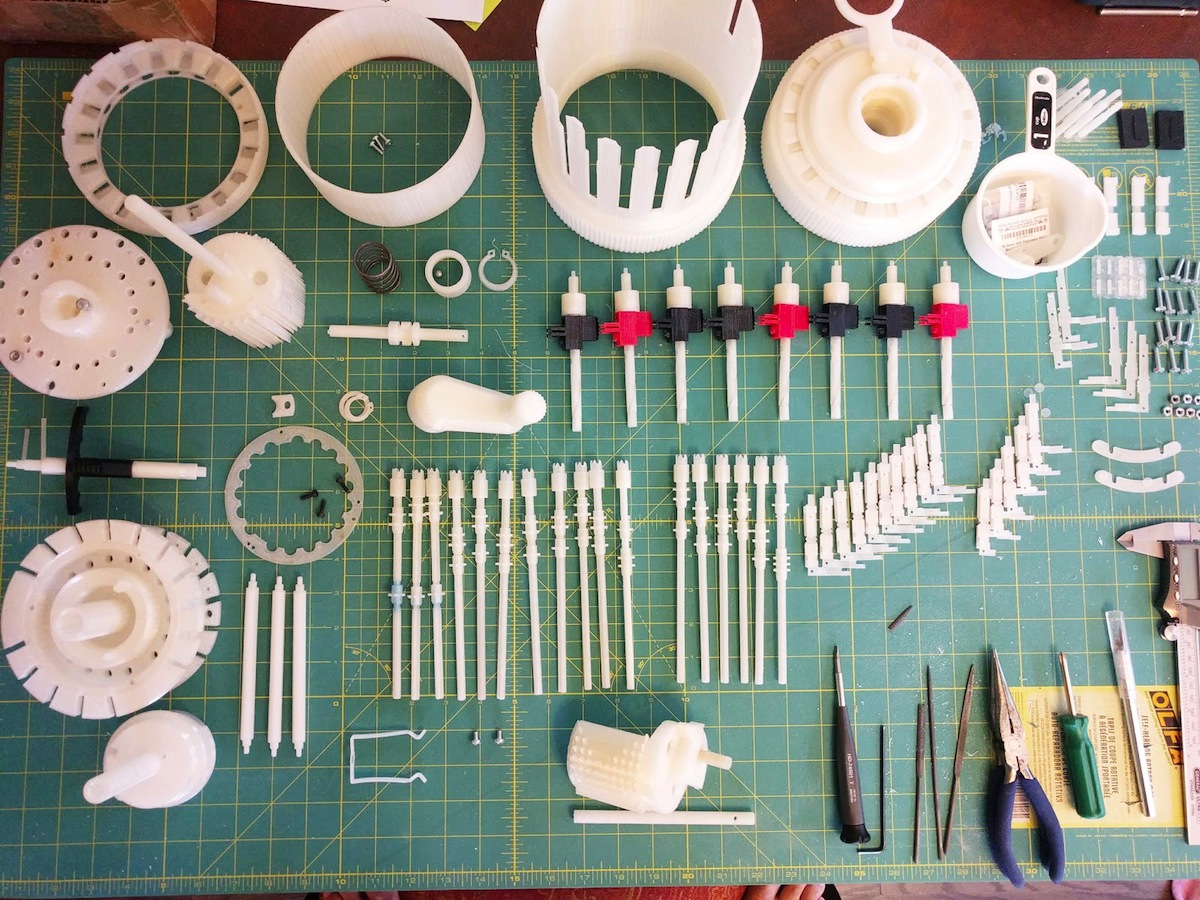
For the Curta to work correctly, numerous interdependent and interlocking parts must work together to solve equations. All the small intricate parts must be perfect. Using Simplify3D, Marcus optimized settings for each component until he found the right combination that allowed the Curta to succeed!
Solving the Challenges of the Curta Calculator
Curta parts printed using Simplify3D. Image from thingiverse.com
Marcus faced several challenges when printing the calculator. He explains, “The Curta wasn’t designed with 3D printing in mind. The parts were designed for an entirely different manufacturing process and not at all optimized for 3D printing.”
First, Marcus needed to identify weak infill areas that would cause the Curta to fail. This was the case with the crucial main shaft, which broke many times during the prototyping process. Marcus notes, “I ended up using Simplify3D’s ability to change print settings at different layer heights to increase infill and strength specifically where I needed it.” Problem solved!
He continued, “There were lots of unsupported features in the parts, so I adjusted support parameters to get the perfect amount of infill and used the dense support features as necessary for a better surface finish. Sometimes I let Simplify3D automatically define its own supports. Sometimes I manually define them. I’m impressed with how well the automatic supports work so I usually start from the automatically generated supports and then add and remove as I need from there.”
Marcus learned to avoid over-extrusion because it created interference between the smooth interlocking pieces. Another issue crucial to the project was using rafts for the shafts, pins, and supports. “Excellent rafts allowed me to print parts in the orientation I needed from an engineering standpoint despite the normal limitations in 3D printing,” he explained.
The Final Product and What’s Next
Video from Marcus Wu
Marcus has shown that 3D printing can take something old and beautiful and breathe new life into it. Simplify3D is proud to have helped Marcus create such an amazing device. “I’m not sure I could have built a working Curta without it.” This isn’t the end of the road, though. You can follow his progress on his blog, or find the print specs and track revisions on Thingiverse.
What are you creating with Simplify3D? Share your story with us at stories@simplify3d.com.


